Tuesday, July 02, 2024

Fiberglassing the Hull

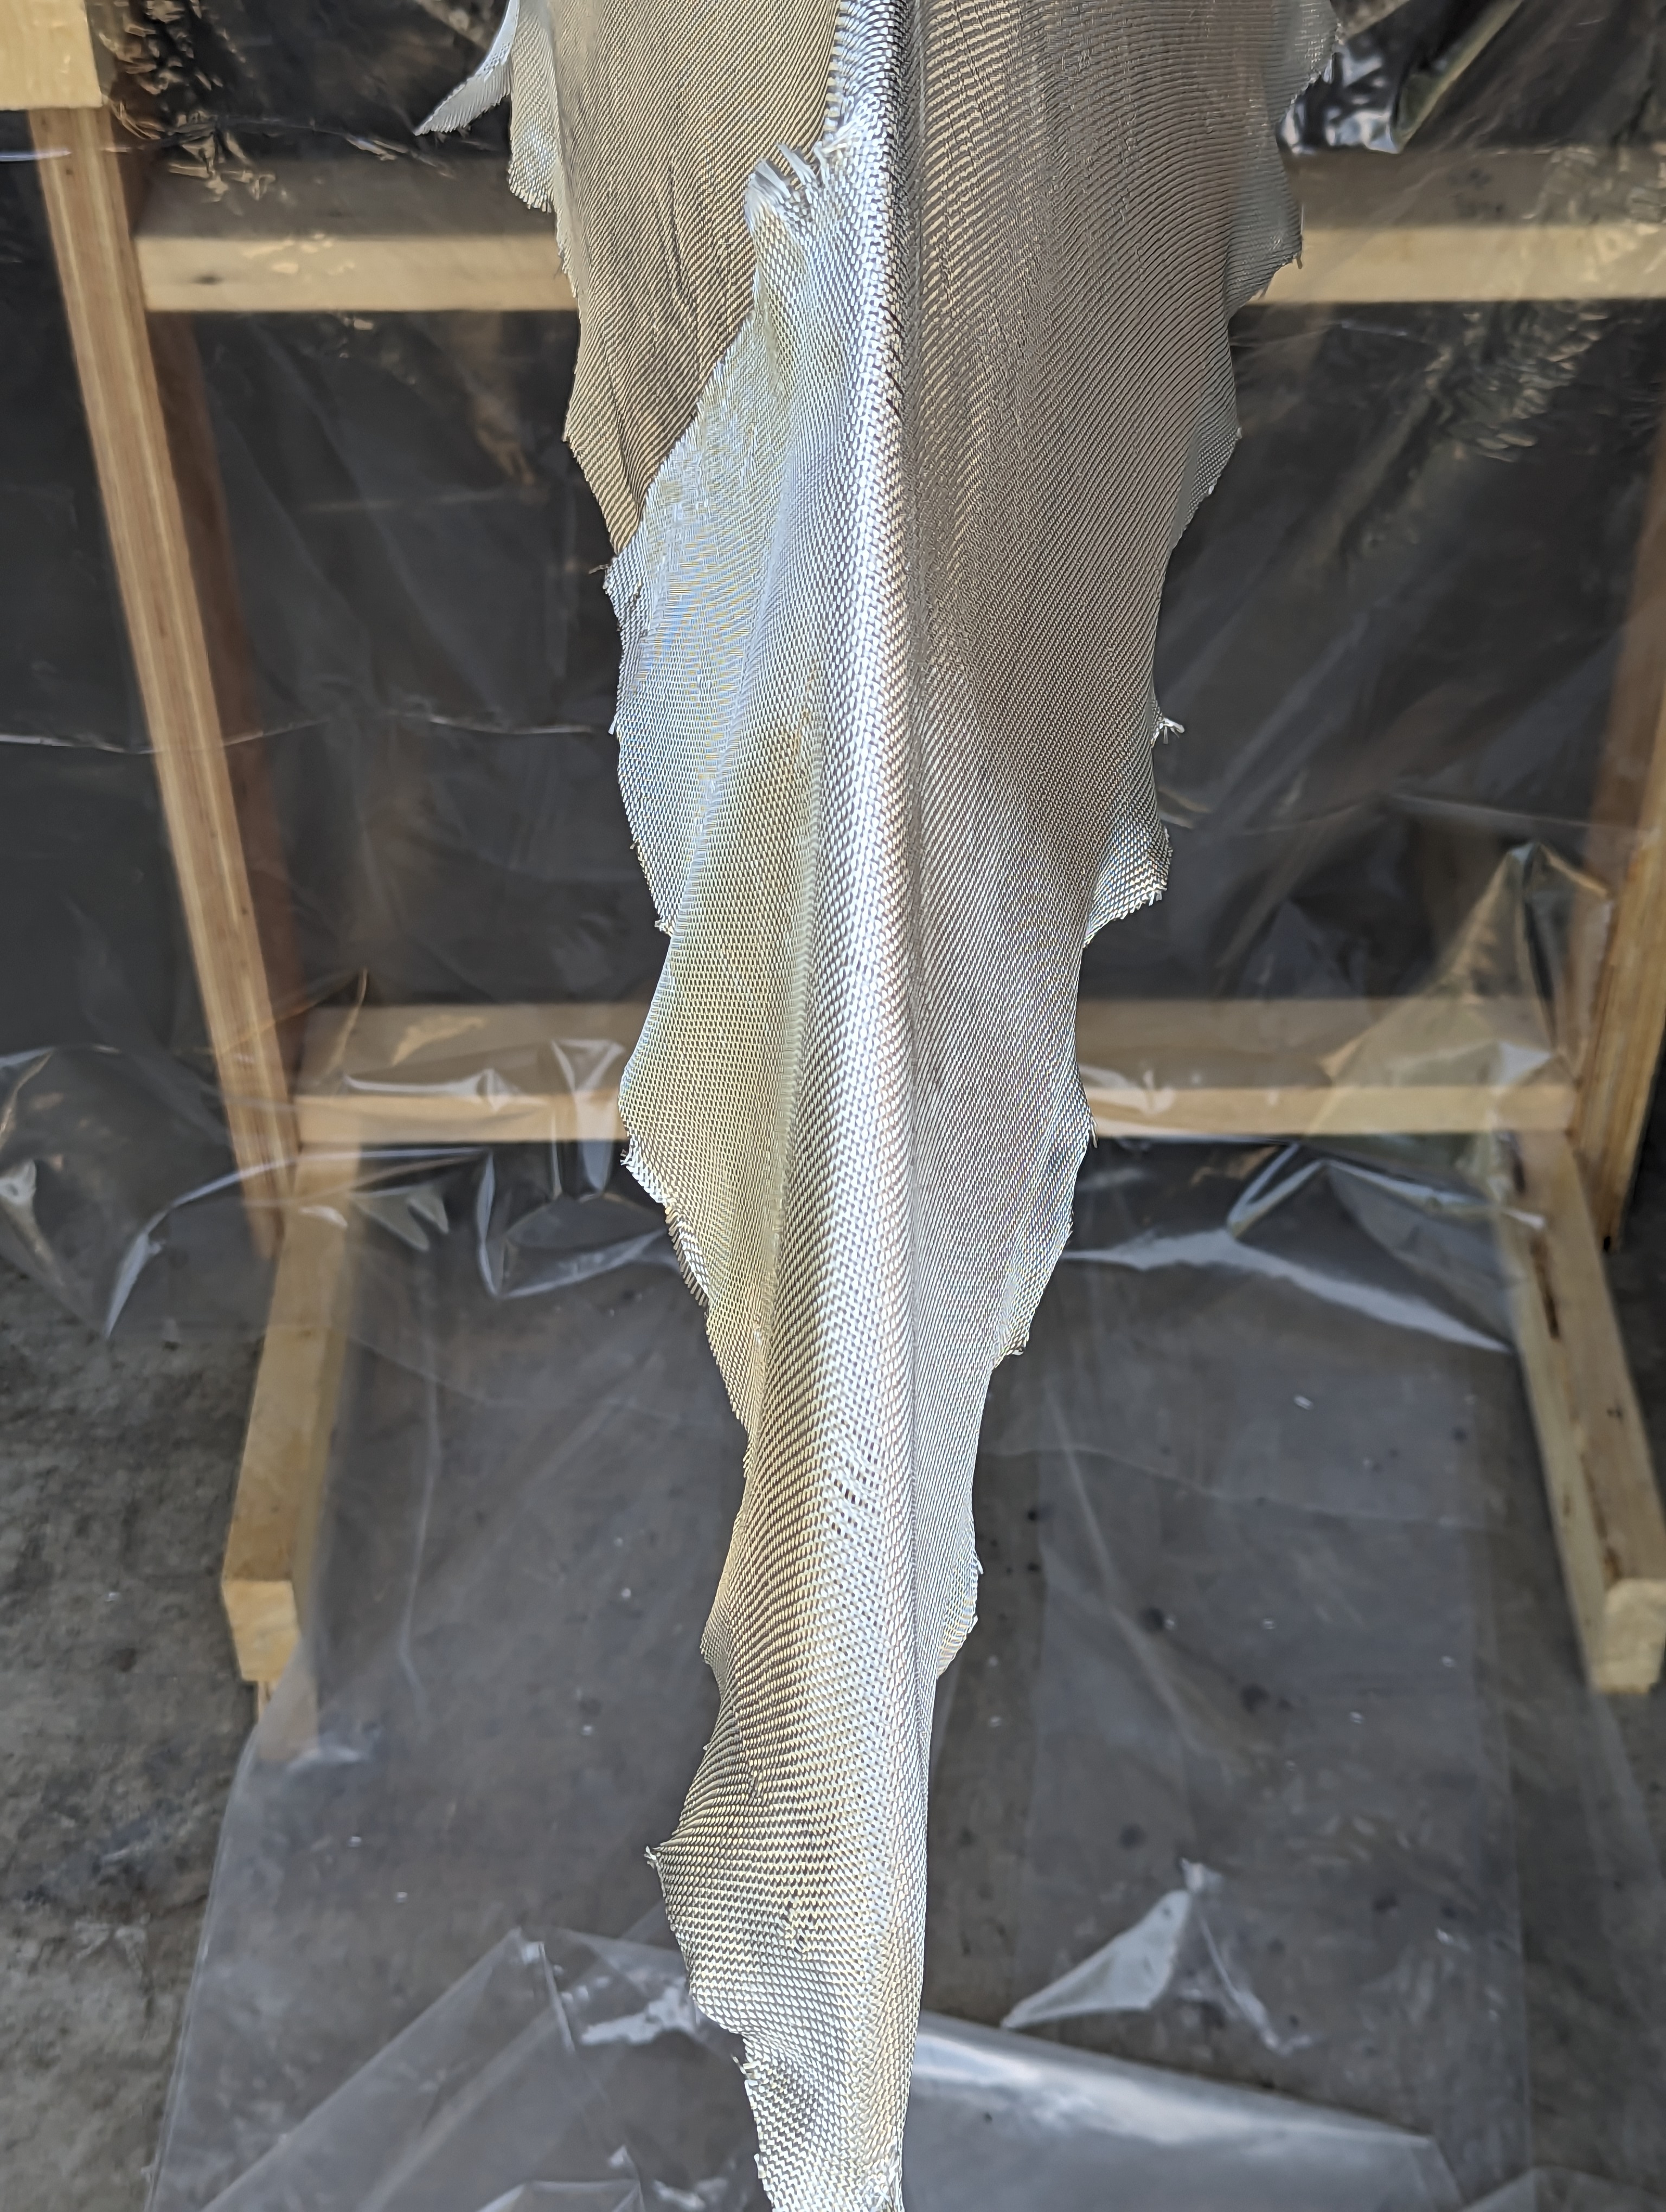
 Diagonally draping the fiberglass cloth over the hull takes some adjusting. Getting the fiberglass to fold over the bow and stern takes some careful cutting. 

I had help the next day for applying the epoxy. Good thing. We discovered the fiberglass liked to slide around as we stroked on the epoxy with the squeegee. A moment of panic when we discovered the fiberglass has slid up so that one side was not covered.  A better approach would have been to pat the epoxy into the fiberglass. Check out the Timber Boatworks YouTube videos to refine your epoxy application technique.


Saturday, June 29, 2024

Sanding and Fairing for Fiberglassing

tBy the end of June, the hull had been sanded (in some spots, over-sanded) in preparation for fiberglassing the hull.

The errors in not removing excess thickened epoxy at seams (with acetone) was compounded by by over use of the orbital disc sander. The orbital sander is efficient at sanding but it is easy to overdo. It is not easy to see those mistakes in these pictures but they show up after fiberglassing.

 If at all possible avoid sanding through the first lamination. Switch to hand sanding if necessary.


Friday, June 28, 2024

Gluing the Seams

 After a couple of weeks off, by mid-June, gluing the hull, the bow and stern tapes, gluing the deck seams and then filleting the deck underside, taping seams and undercoating were complete.

Filling seams with epoxy from a syringe is an art for a steady hand. Over applications, zig-zags and drips need to be cleaned up immediately and any stains from the thickened epoxy need to cleaned off with acetone. The consequences of not removing these from the panels led to oversanding later.

Acetone was cheapest from Rona in 2023. Get a large can. Acetone is invaluable for cleaning off epoxy and removing dust between sandings.


Using electrician taped doweling on the underside on the deck at both ends kept bow and stern portions of deck stitched straight until seams were glued.


Removing wires for gluing seams was misery. Buy a soldering iron.

My hand control when applying the thickened epoxy along the seams was not accurate and I tended to glue right up to the stitching wires. So I had more than a few wires epoxied to the kayak. Prying led to extra effort and larger holes. A short application of the soldering iron made pulling wires out easy work. and did not affect the epoxy or the size of wiring holes.

Also because the Solace 16 XL has significant curvature in the deck behind the seat, the manual recommends using concrete blocks to weight the deck down onto the bulkhead behind the seat. I couldn't get enough weight onto the deck to achieve that. So I wound up screwing a temporary block of wood onto the bulkhead at the seat opening. Then I used used two screws to screw the deck down onto the block that was flush with the top of the bulkhead. The two screw holes were hidden by the cockpit coamings when they were installed. 

Building up the keels with thickened epoxy took several applications. But if your kayak is headed to rocky territory, you want this robust.

Stitching Hull and Deck Complete

 By the end of April, stitching the hull was complete. 


Then it was the deck. The deck has been laid on top of hull just to check on they are lining up.


If you look closely, you can see the stern has a bit of a twist from bottom to top. And the deck does not align at the end with the hull. This is before stitching the two together. And that won't happen until the panel seams are epoxied and bulkheads are restitched back in.

I also used doweling wrapped with electricians tape at both sides of the bow and stern as suggested in the manual to the panels aligned where the curvature was greater. This worked well.

Thursday, January 04, 2024

Consultation with Boatcraft: Alignment issues at Puzzle Joints


So these are the photos I showed Rob at the Boatcraft shop. Some of the puzzle joints align. Some do not. So I am off by millimetres at the stern and also slightly at the bow although it is not as obvious. By this point I am worried and I flip the kayak's hull to check how straight the hull is. To my eye, it looks pretty straight, although at the top panels at the bow and stern there looks to be a minor twist.

Rob agreed the puzzle joints didn't align. But photos are tough to evaluate alignment. It wasn't bad enough to recommend that I unfasten the frames and redo the alignment. So I continued on with the build.

When it came time to mount the deck on the hull, there was a minor twist at the bow and stern, not at the water line but at the top panels. That required some extra wires to get the deck and hull to match up properly. You probably can't see it on the finished kayak but I know it is there.

So pay attention to your puzzle joints alignment all through the stitching of panels and especially when stitching in the frames.

End of April: Alignment Problems at Puzzle Joints


So I may have been over working an issue. 16 feet of panels and you can see that panels are slightly offset from each other at the bow and stern (just mm but noticeable). Since you wind up sanding the bow and stern anyways and then add a thick bead of thickened epoxy as stems to both, this may have not been a problem.

But the problem originates at the puzzle joints in the middle of the kayak. The manual stresses that the puzzle joints must align from one panel to the next. If you look closely, you will see that mine don't. Hence the offset  at bow and stern. The problem is accumulative. If the first and second rows of panels are misaligned that error carries along with panels further up. 

The panels are cut precisely and when you get the puzzle joints perfectly aligned so do the bow and stern joints. My problem that when I started to install frames and bulkheads, drilling holes for wiring and then wiring in the frames was done without enough attention to alignment at the puzzle joint. It was easy enough to tug panels back into alignment before the frames went in. Not so after. 

So I headed in to see Rob and the crew at Boatcraft to see how critical this problem was.

Hull Assembly: Mid April, Wiring in Frames


The manual and Timber Boatworks YouTube videos  https://www.youtube.com/@timberboatworks do a detailed description of drilling panels for wiring and then wiring panels. This is the hull before gluing seams between panels. This came along pretty fast, probably 20 hours with clumsy hands. Note the electrical tape around forms and bulkheads. The tape worked well in preventing forms getting glued in when gluing seams got started. Note I used copper wire for some of the stitching. But it only worked where tension was low.